After the bottom is completely assembled and the robot is actually starting to like like a robot, we have to build the upper body , which is the part that will really define the butler robot.This stage will also require the most amount of materials.
I used:
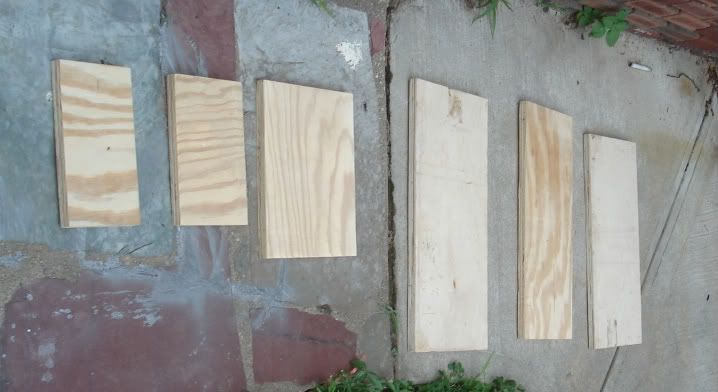
- one 5.5" x 9" plywood and 3/4" thick
- one 5" x 9" plywood piece and 3/4" thick
- two 10" x 21" plywood piece and 3/4" thick
- one 9" x 11.5" plywood piece and 3/4" thick
- one 9" x 21" plywood piece and 3/4" thick
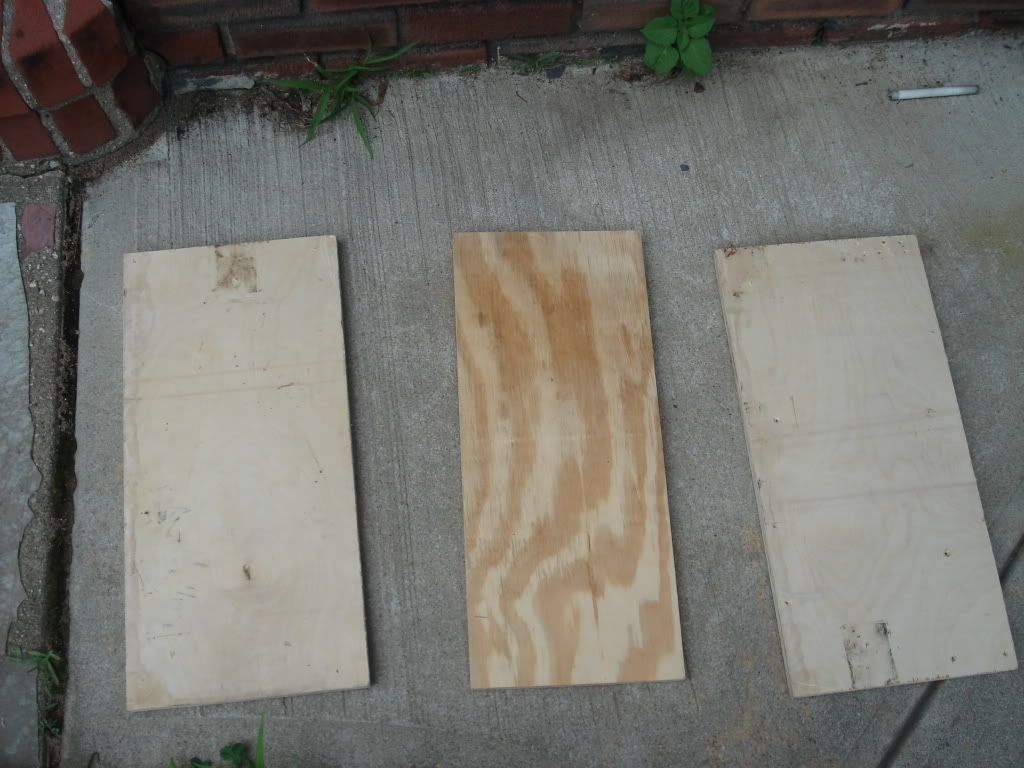
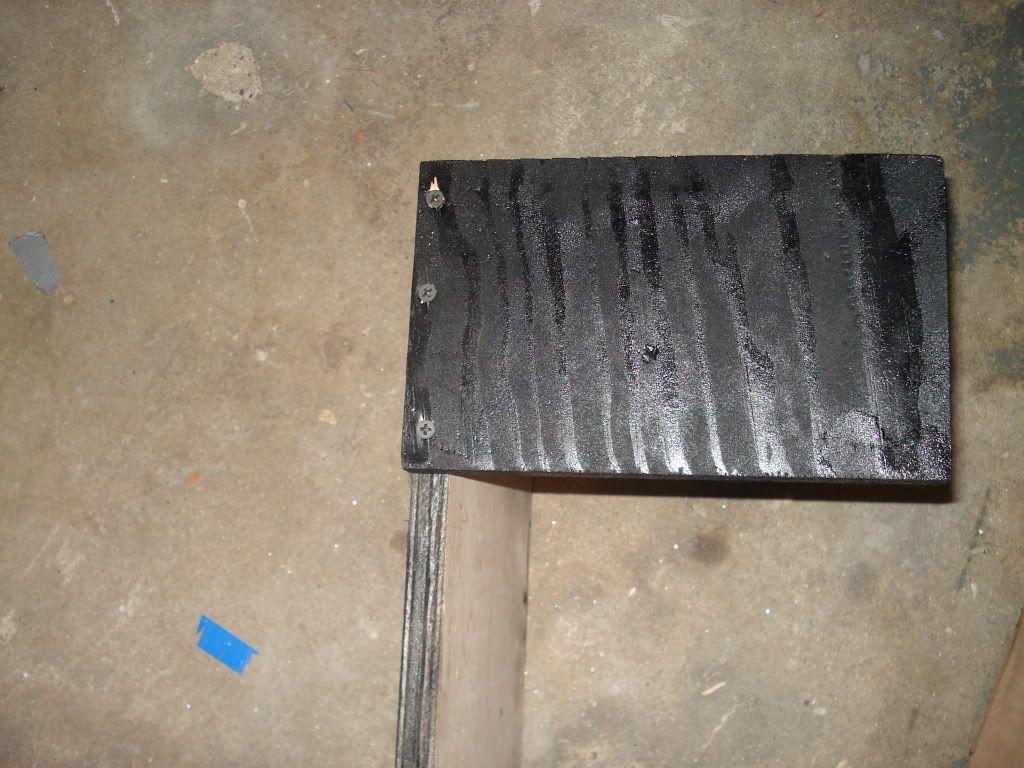
Cut those materials and lay them outside on the floor. Take out a canister of black spray paint and prepare to paint!
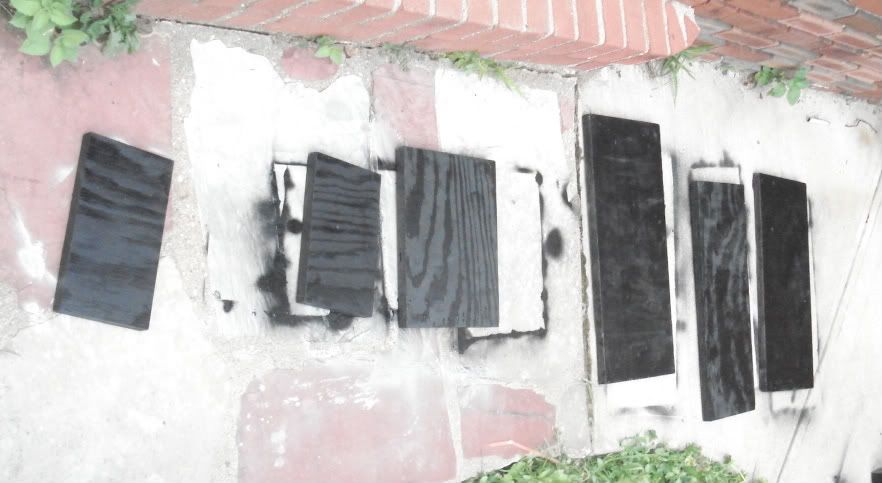
Now take your canister of black spray paint and spray all the boards with a nice layer of black paint. Be sure to wear latex gloves so that you don't get your hands dirty.

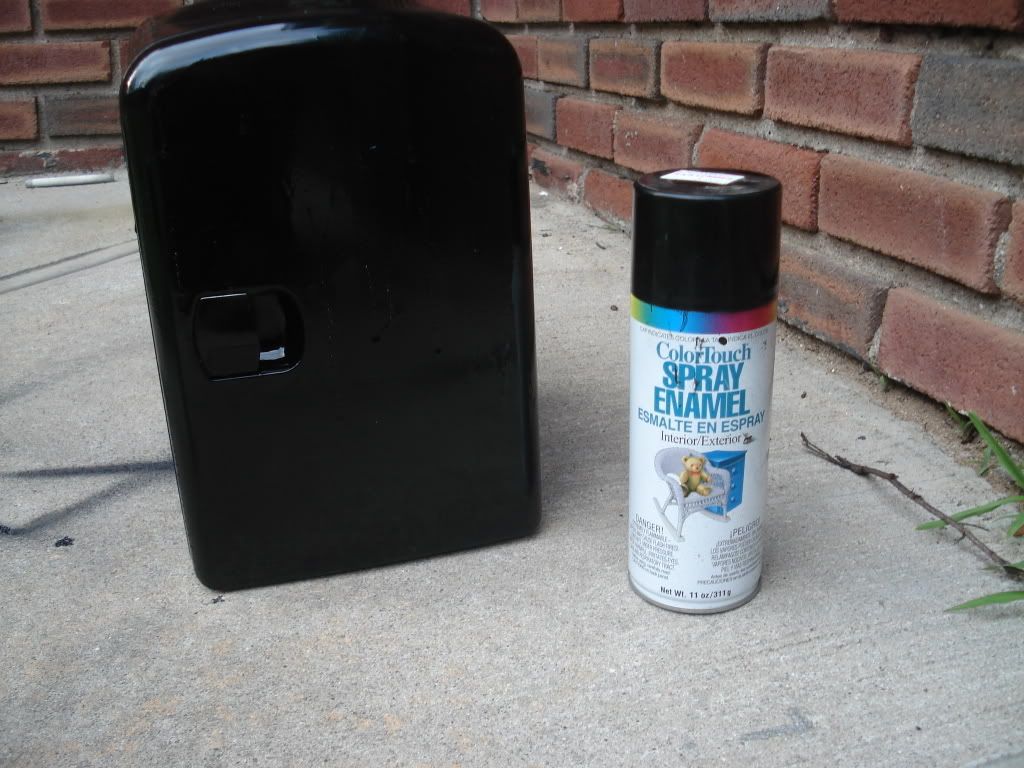
Let the painted wood dry and now get ahold of the mini -fridge. If it isn't black already then spray paint that as well.
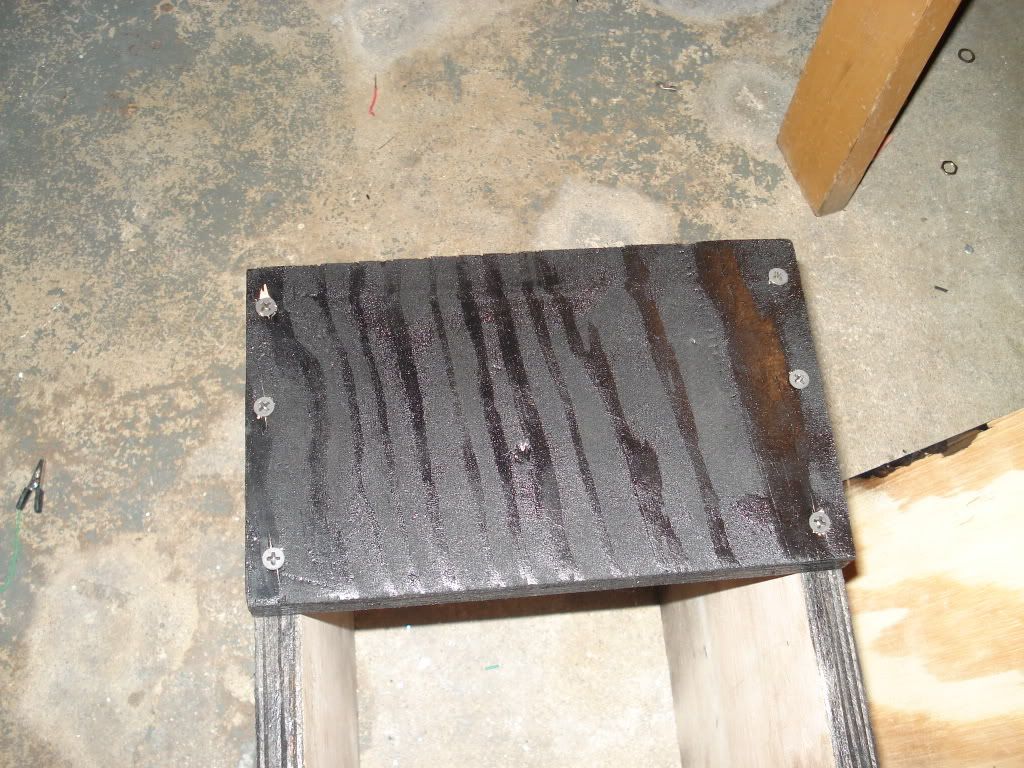
Attach the 5.5" x 9" piece to one of the 10" x 21" pieces as shown in the picture below.
Grab the other 10" x 21" piece and attach it to the other end of the 5.5" x 9" piece.
Now attach the 5" x 9" piece to the other end of the wood.
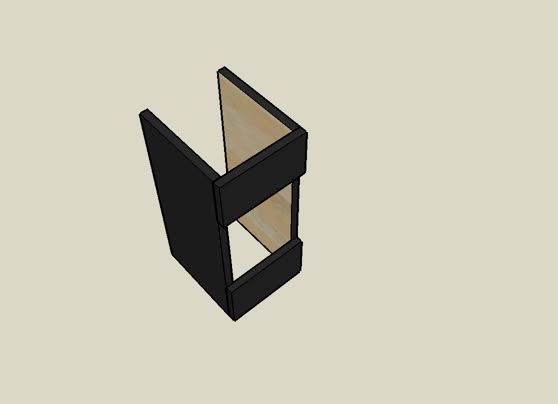
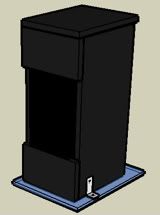
Stand up the wood that was all connected together so that the 5.5" x 9" piece is on the bottom end.
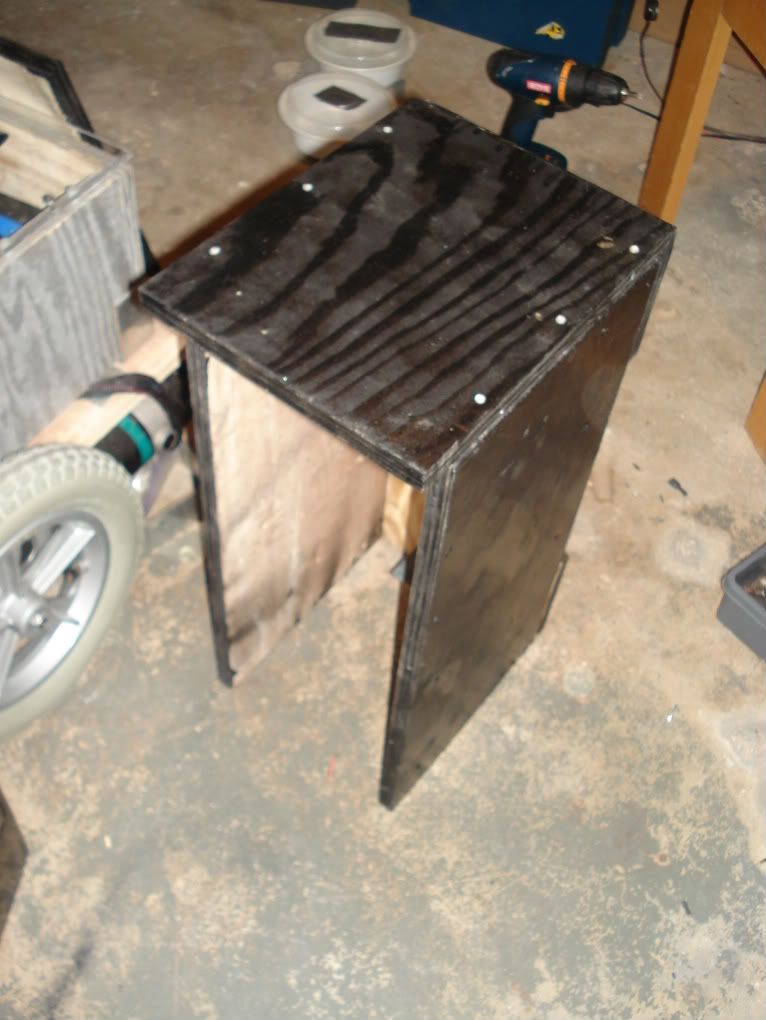
Take the 9" x 11.5" wood and screw it in to the top as show in the picture.
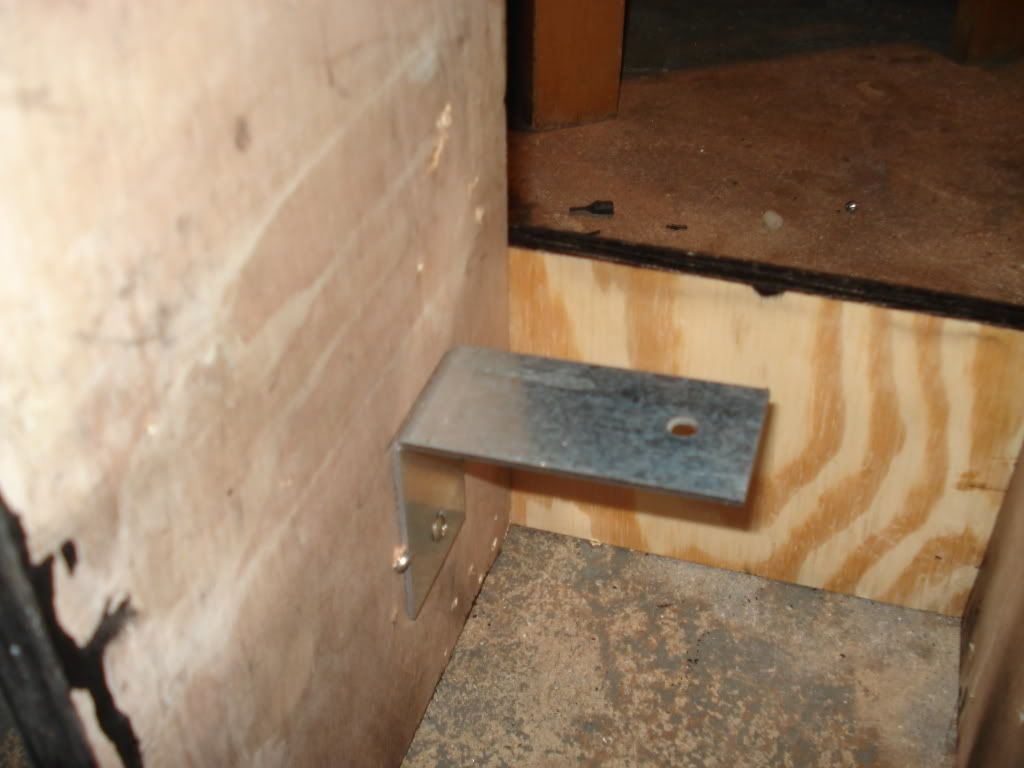
Take two L brackets and connect it so that the top of the bracket is 5" above the floor.
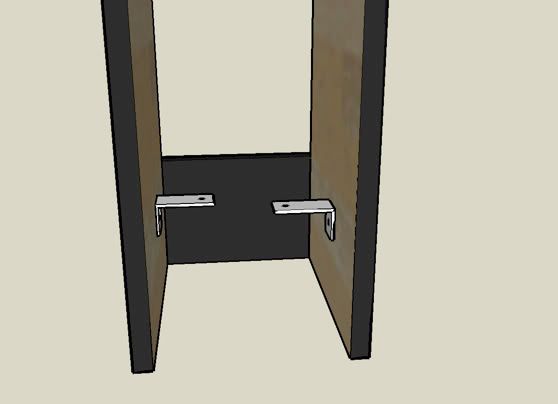
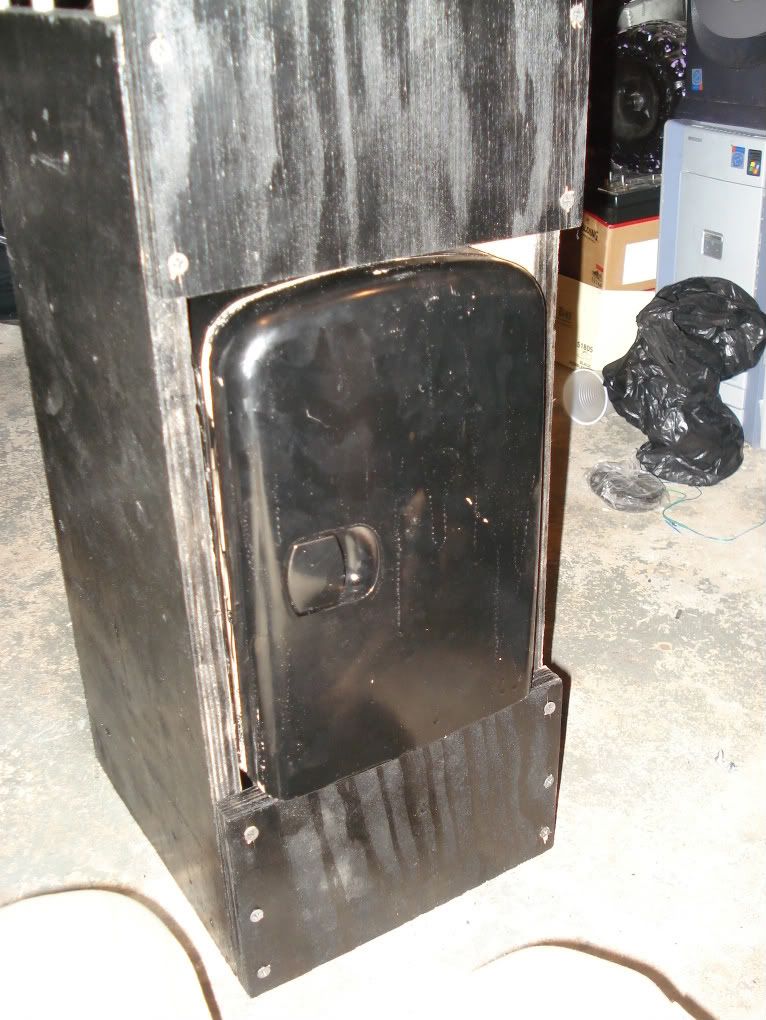
Take that mini-fridge and lay it down on top of the L brackets we just put up.
To secure the mini-fridge in place use a hot glue gun to glue the sides of the minifridge to the wood.
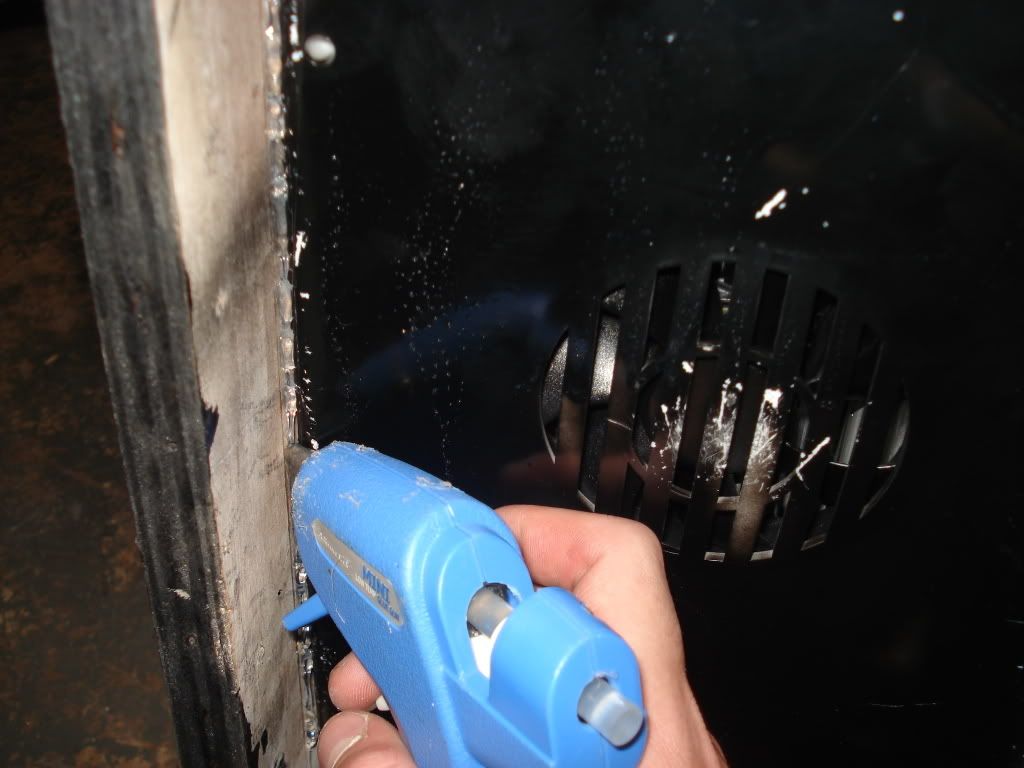
It should be secured and shouldn't wobble in there. Make sure that you have enough clearance to opne the fridge door.
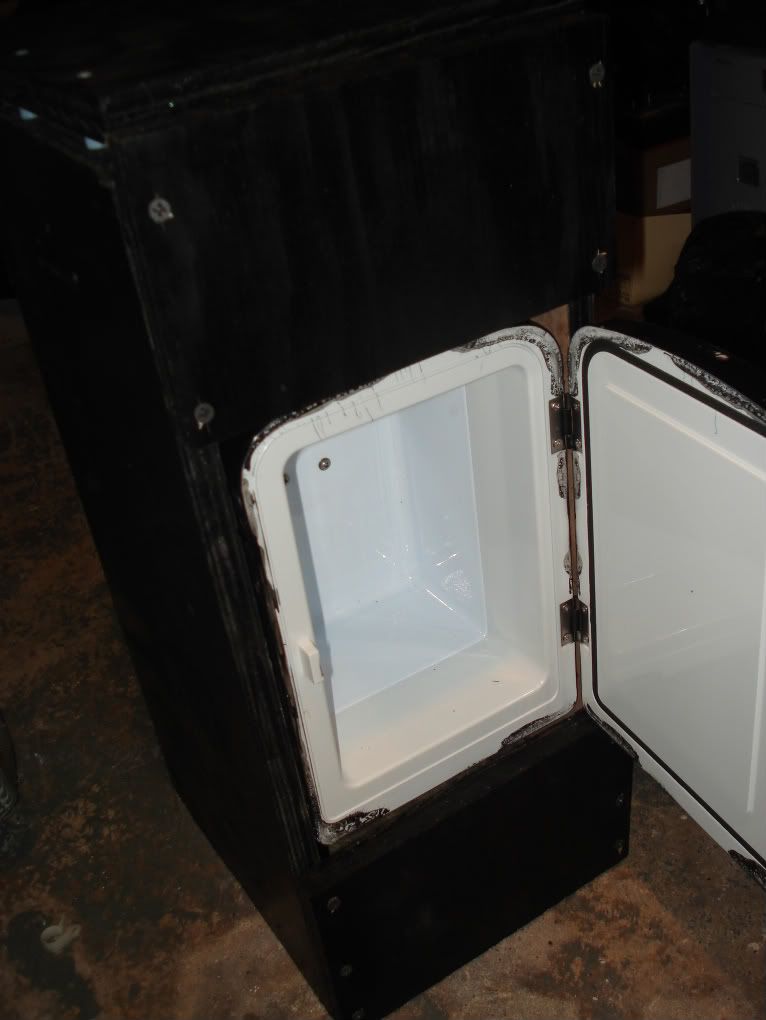
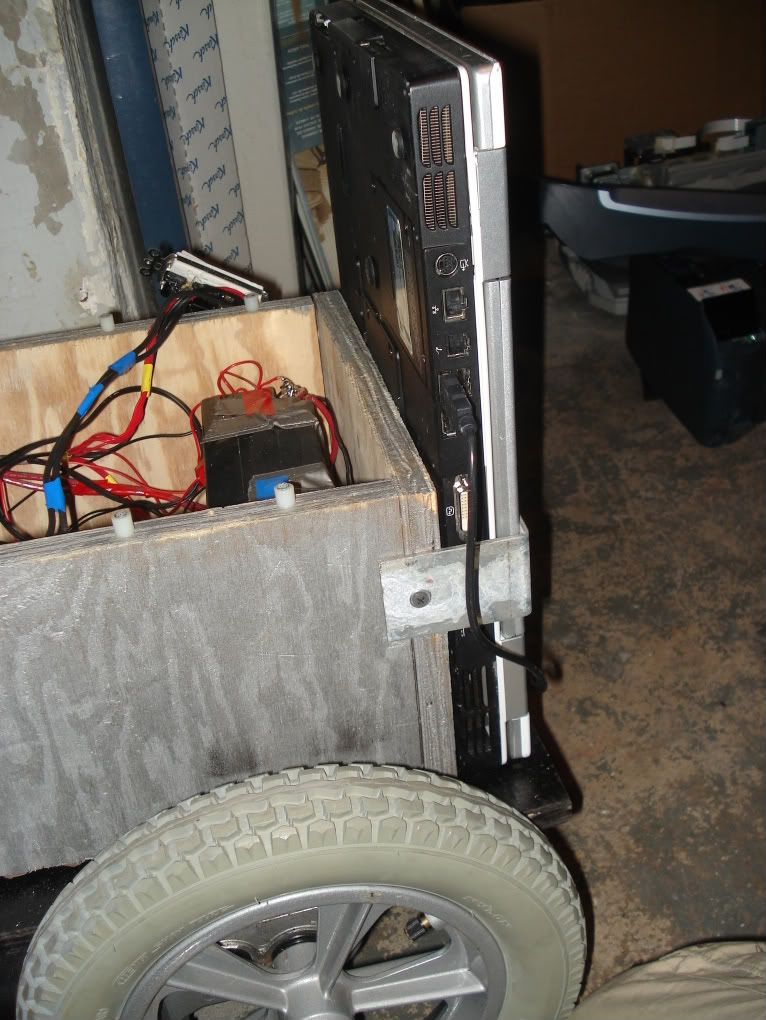
The mini-fridge should have two black wires coming out from the back. Connect the end of one wire to the positive terminal of the 12V battery and the end of the other wire to the negative terminal. Now whenever the robot turns up the minifridge will be on.

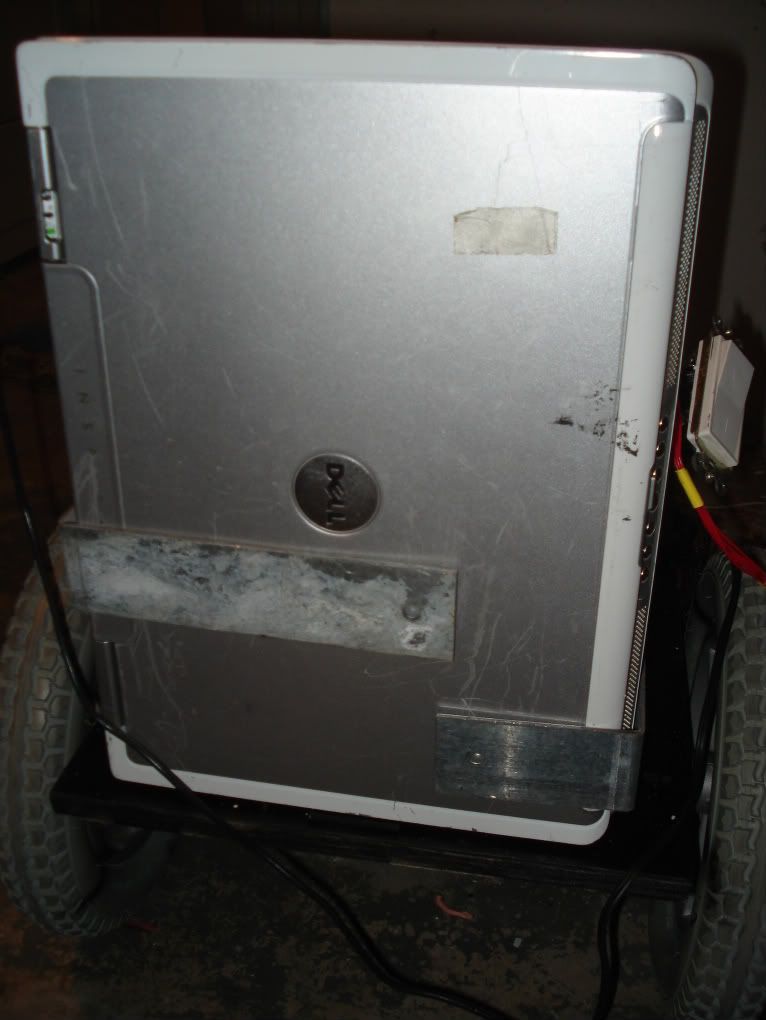
The laptop that I dedicated to Chives was an old one I had and had a 17" screen. Lay the laptop that you have vertically on the space that is in back of the chassis and secure it with L brackets.
Unscrew the plexiglas cover that we put on the motor enclosure place it on the floor . Now put the wooden box we just built on top of it ( aligning it so that its in the center). Secure the wooden box to the plexiglas using two L brackets.
No comments:
Post a Comment