After you have finished the whole motor control part its time to make the body for the butler robot. This is the "essence" of the robot so be careful.
STEP 1: Create a box for the relays and Phidgets
When we ended off in the motor control section , the robot had no enclosure and was entirely open and prone to damage.
To make a box for the phidgets and relays you'll first need to measure it out.
If you followed my template then you will need:
- Two pieces of 14 1/2" by 8 " plywood and 3/4" inch thick
- Two pieces of 11 1/2" by 8" plywood , 3/4" thick
- One piece 14 1/2" by 13" plexiglas piece
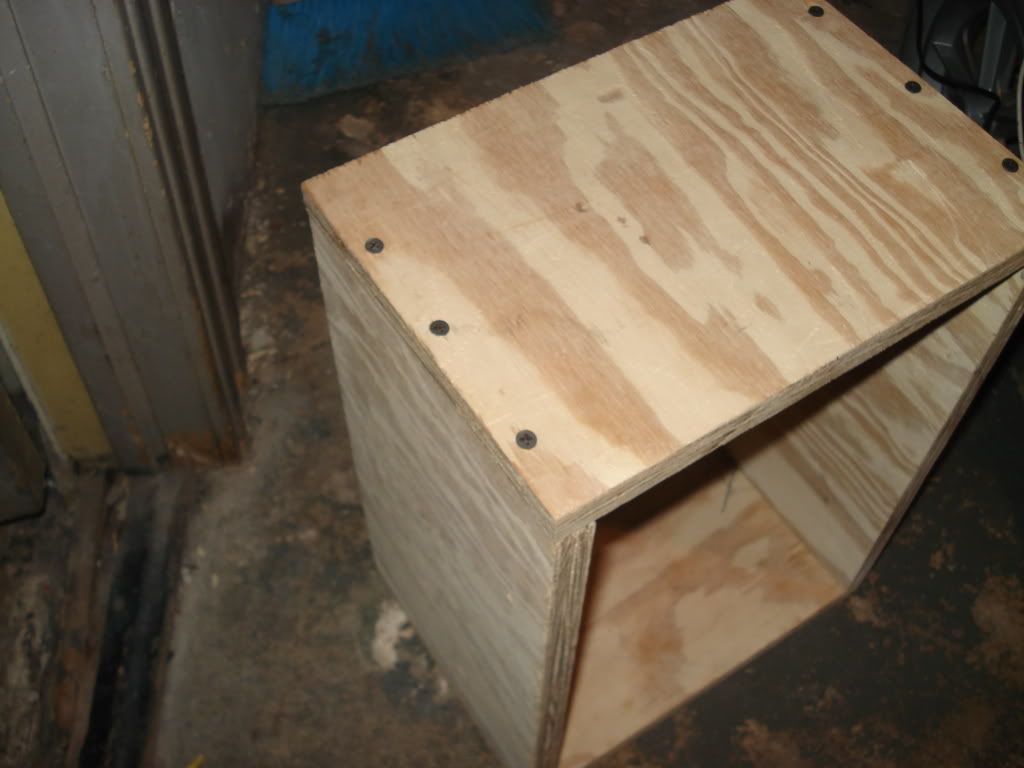
Assemble the wood pieces only for now as shown in the picture, it should be a rectangle. Just take some regular 3/4" drywall screws or some nails and attach the wood like as pictured below:
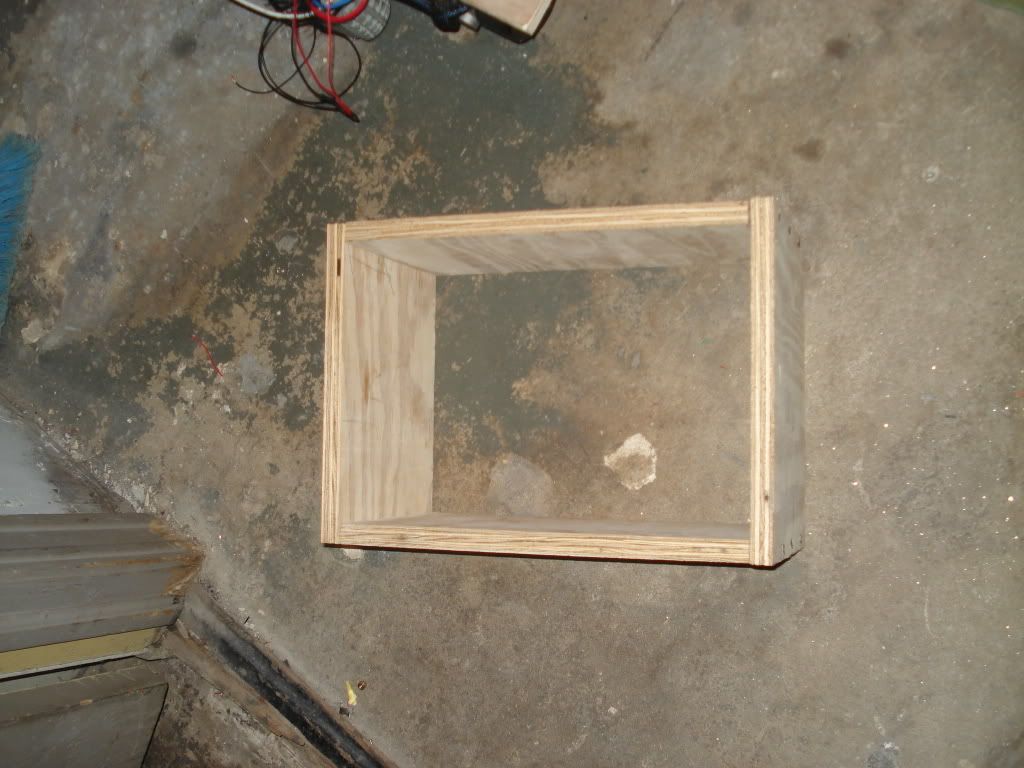
Now to see if its the correct measurements put the box you just made over the batteries, relays and phidgets. It should fit around them perfectly , as demonstrated below.

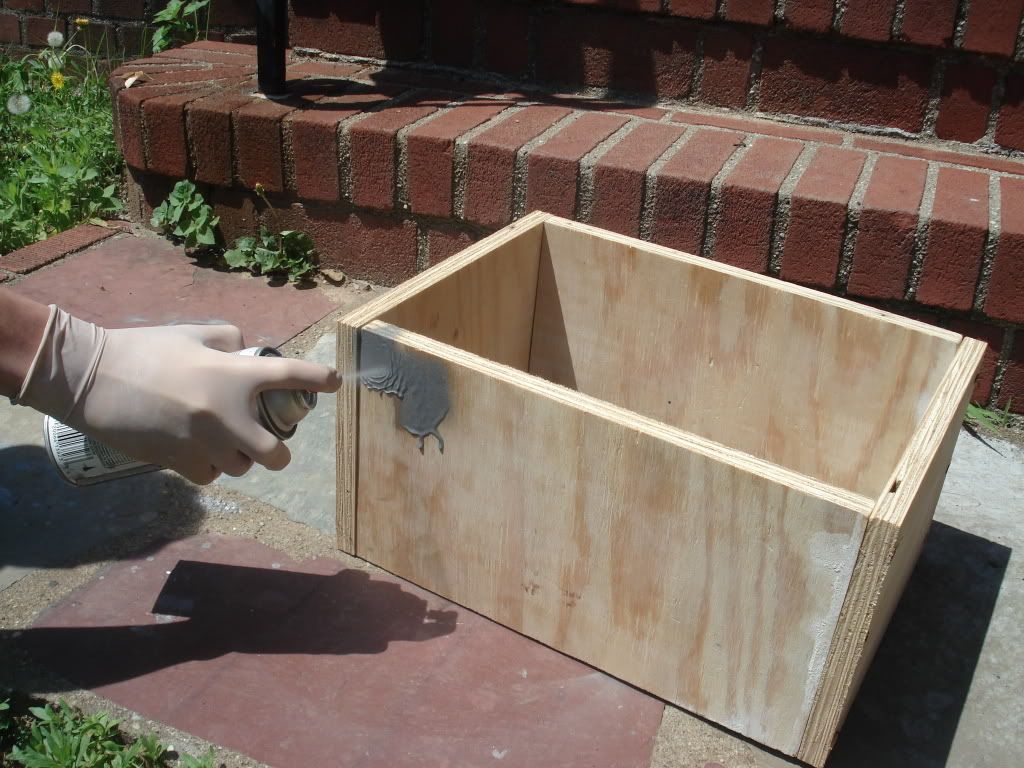
STEP 2: Paint the enclosure silver
Take the the wood enclosure off the chassis and lay it on the floor in a well ventilated area. Now get a canister of silver spray paint or just a bucket of silver paint and a paintbrush. It would also be a good idea to wear gloves right about now. Spray paint the entire outside of the wood in an even coat of paint. Then let it dry for about an hour or two .
STEP 3: Fasten the wood enclosure to the chassis
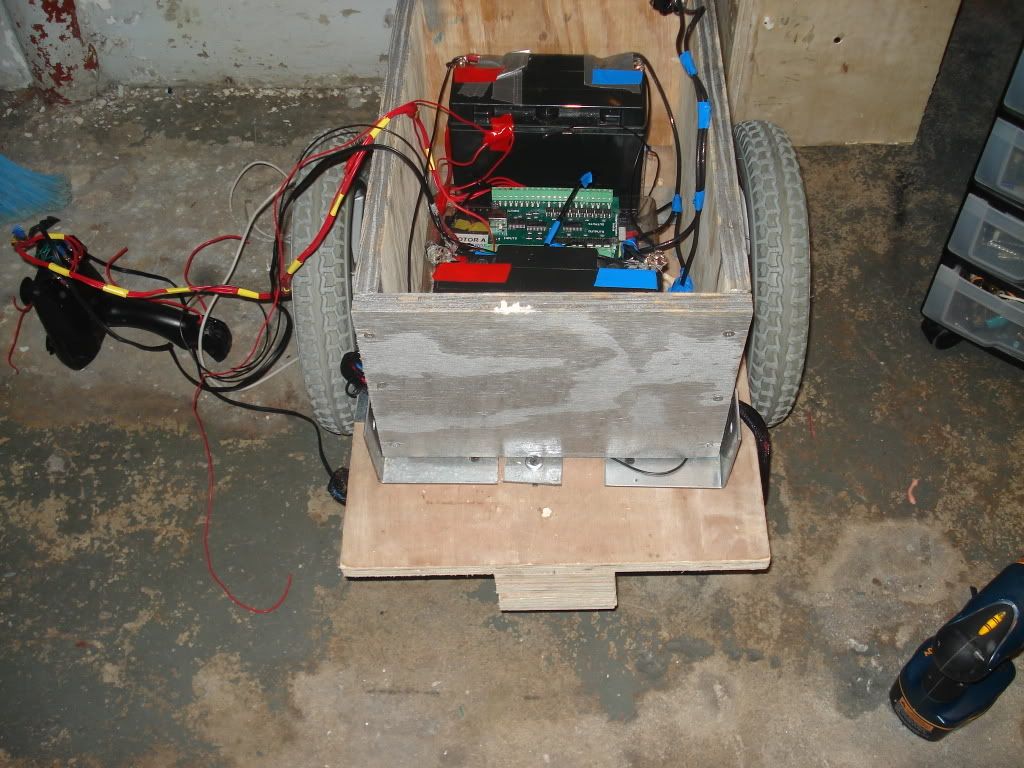
Fasten the (now silver and hopefully dry paint) wood enclosure to the chassis using L brackets.
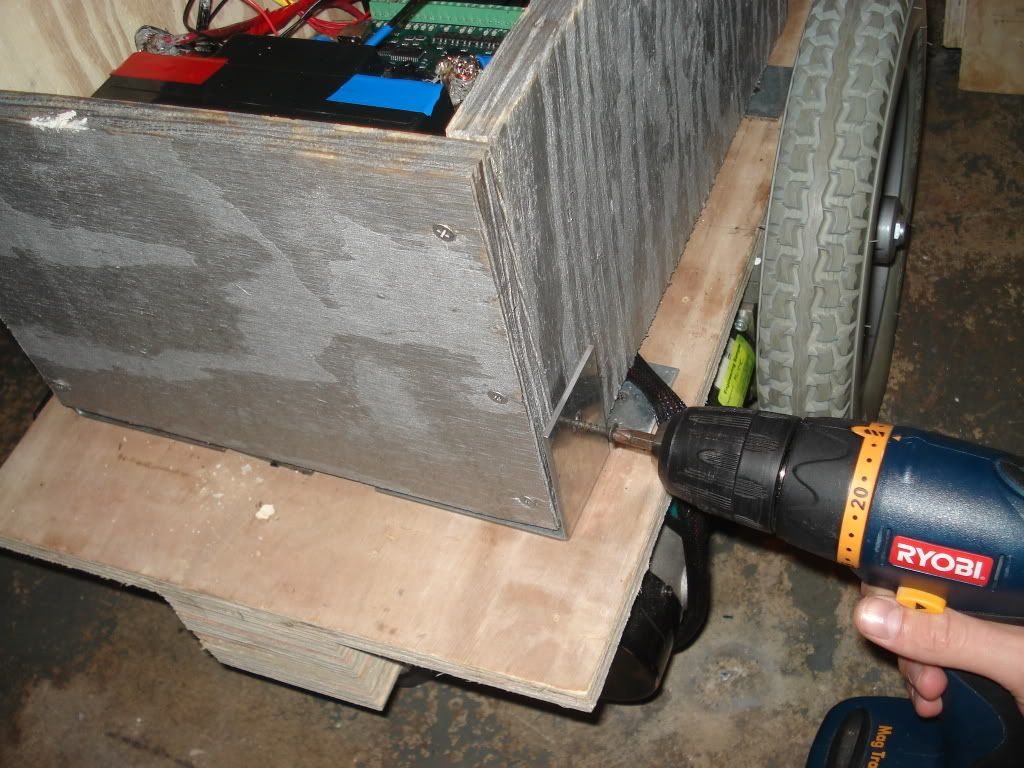
Now it should look like this after you fasten it down with L brackets.
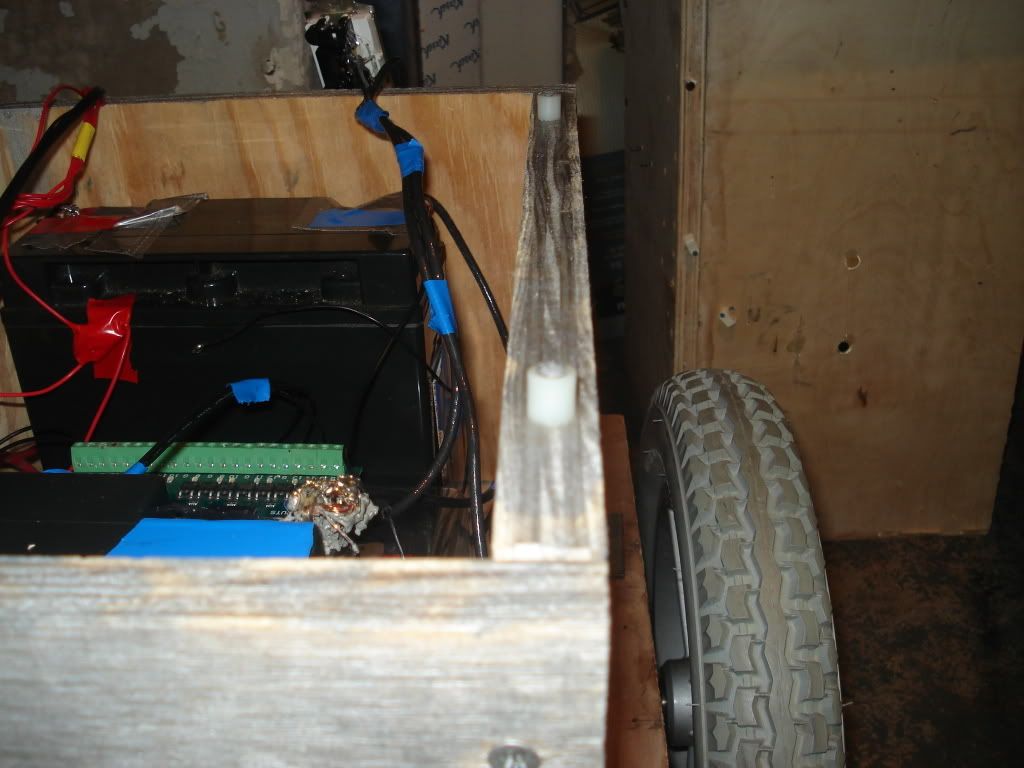
STEP 4: Now take some 1/4" plastic spacers
You will need 6 plastic spacers that look like this: 
Nail two or three spacers to each side of the top of the enclosure as show in the picture below:
STEP 5: Put on the Plexiglas Cover
Take that piece of plexiglass that we cut before and put them on top of the spacers. Then drill holes in the plexiglas so that the holes are over the spacer holes and screw the plexiglass through the spacer into the wood.
No comments:
Post a Comment